SPF record
SPF record protects your domain from counterfeit and allows to prevent emails sent from your addresses from being recognized as spam. SPF is set for the address used in envelope-from (SMTP envelope). You can read more about SPF record here.Read our article (in Russian) to learn more about commonmistakes and frequent errors in SPF setting.
To set SPF record:
- Open the site of your provider who has DNS zone of your domain administration;
- Use the login and password to enter Control Panel;
- Open DNS zone administration section of the domain you need;
- Add a new TXT record. Example of such record: “v=spf1 ip4:165.165.165.0/24 ip4:136.136.136.0/20 a mx ~all”
Some providers put quotes for SPF records themselves, that is why you can contact your hosting provider to specify if there is need for quotes or proceed by analogy with the other domain TXT records, if there are any.
Postmaster Mail checks SPF record validity once a week.
DKIM signature
DKIM signature allows to confirm that the address indicated in From header is the real address of the email sender, it also increases emails deliverability. You can read more about DKIM here.
To set DKIM:
Generate the key pair (private and public key);
Key pair generation with Open SSL usage Key pair generation with OpenDKIM usage To generate a private key enter openssl genrsa -out privatekey.pem 1024 in command line, where privatekey.pem is private key file, 1024 — key length.
Example of the result: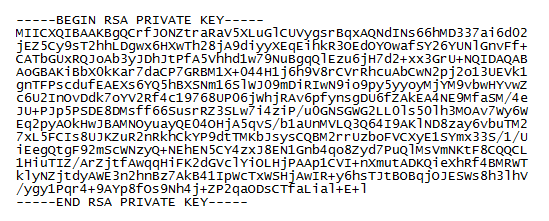
To generate public key enter openssl rsa -pubout -in privatekey.pem -out publickey.pem, where publickey.pem is public key file.
Example of the result:
To generate the keys use enter opendkim-genkey -d example.ru -s mail, where example.ru is your domain, mail - selector.
Herewith, mail.private file with the private key and mail.txt file with a ready public key in DNS-record format will be created in the current directory.Put the private key into the file in the directory with a limited access at your sending server. Pay your attention, post server must have access to this file;
Activate DKIM support on your post server. Some servers have default DKIM support, others allow to activate in with free programs;
Open the site of your provider who has DNS zone of your domain administration;
Use the login and password to enter Control Panel;
Open DNS zone administration section of the domain;
Add a new TXT record indicating the generated public key in “p” tag. Remember that it can take 48 hours to update the record. Example of the TXT record:

Some registrars put quotes for TXT (SPF and DKIM) records themselves, that is why enter the record or copy it the same way as it is given in the instruction – with quotes.
You can check DKIM signature setting correctness by DKIM-Signature presence in the email headers, as well as by dkim=pass line in “Authentication-Result” header.
Example of DKIM signature in email headers:
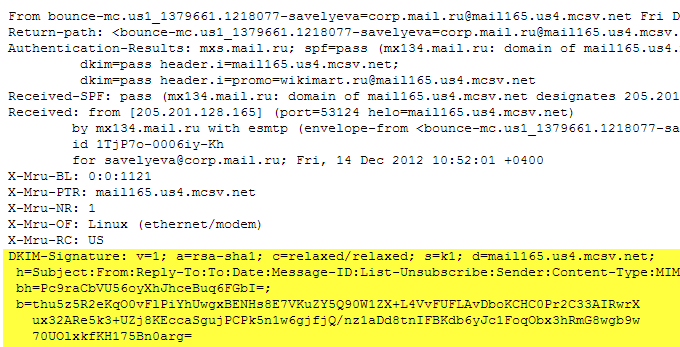
Parameter [d] in DKIM signature must coincide with the domain name you want to study statistics of in Postmaster Mail.
If you do not know how to set the signature in an email, contact your system administrator or the support team of your hosting.
It is not possible to see statistics in Postmaster without DKIM signature.
DMARC
DMARC ( Domain-based Message Authentication, Reporting and Conformance) — a technical specification created by a group of organizations in order to combat spammers that forge senders’ addresses.
Setting DMARC domain owners can make rules of processing emails that are received from the domains which do not pass authentication. Use our article (in Russian) to think over all the steps of setting DMARC policy in advance.
Preparation for DMARC setting:
Before DMARC setting you need to:
- Set SPF record;
- Set DKIM Signature.
This is because DMARC technology uses these tools. If a sent email does not pass DKIM and SPF check (both), it does not pass DMARC as well. If an email passes at least one of them (DKIM or SPF), it passes DMARC, too.
DMARC setting
To set DMARC:
- Open the site of your provider who has DNS zone of your domain administration;
- Use the login and password to enter Control Panel;
- Open DNS zone administration section of the domain you need;
- Add a new TXT record of the following type _dmarc.example.com in accordance with the chosen policy, where instead of example.com you need to put your domain.
Example of the record: “v=DMARC1;p=none;rua=mailto:rua@example.com;ruf=mailto:ruf@example.com;fo=s”
Some providers put quotes for TXT records themselves. You can contact your hosting provider to specify if there is need for quotes or proceed by analogy with the other domain TXT records, if there are any.
In TXT record it is allowed to use the following tags:
| Tag name | Purpose | Example | Needed | Addition |
|---|---|---|---|---|
| v | Record retrieved version | v=DMARC1 | yes | |
| p | Mail receiver policy | p=reject | yes | none — no actions are needed to be taken regarding messages delivery quarantine — put emails in Spam folder reject— reject emails |
| aspf | Alignment check mode for SPF record | aspf=s | no | r (relaxed) — allow partial alignment for example, subdomains of the domain s (strict) — allow full alignment only |
| pct | Percentage of emails from the domain to which DMARC policy is to be applied | pct=40 | no | |
| sp | Mail receiver policy for subdomains | sp=reject | no | none — no actions are needed to be taken regarding messages delivery quarantine — put emails in Spam folder reject — reject emails |
| rua | Address for aggregated reports | rua=mailto:admin@test.ru | no |
If you want to get reports (rua) to a domain that differs from the domain with DMARC, you need to set a special TXT record for that domain. For example, if the domain with DMARC is example.com and you want to get reports to test.ru domain, you need to add the following TXT record to DNS of test.ru domain: example.com._report._dmarc.test.ru with “v=DMARC1”.
Examples
- Reject all the emails that do not pass DMARC: “v=DMARC1; p=reject”
- Reject all the emails that do not pass DMARC and send aggregated reports to admin@test.ru account: “v=DMARC1; p=reject; rua=mailto:admin@test.ru”
- Get to quarantine 30% of emails that come from your domain but do not pass DMARC: “v=DMARC1; p=quarantine; pct=30”
DMARC policy “v=DMARC1; p=none” does not protect your domain from spoofing. Use it only as an intermediate step of DMARC setting.